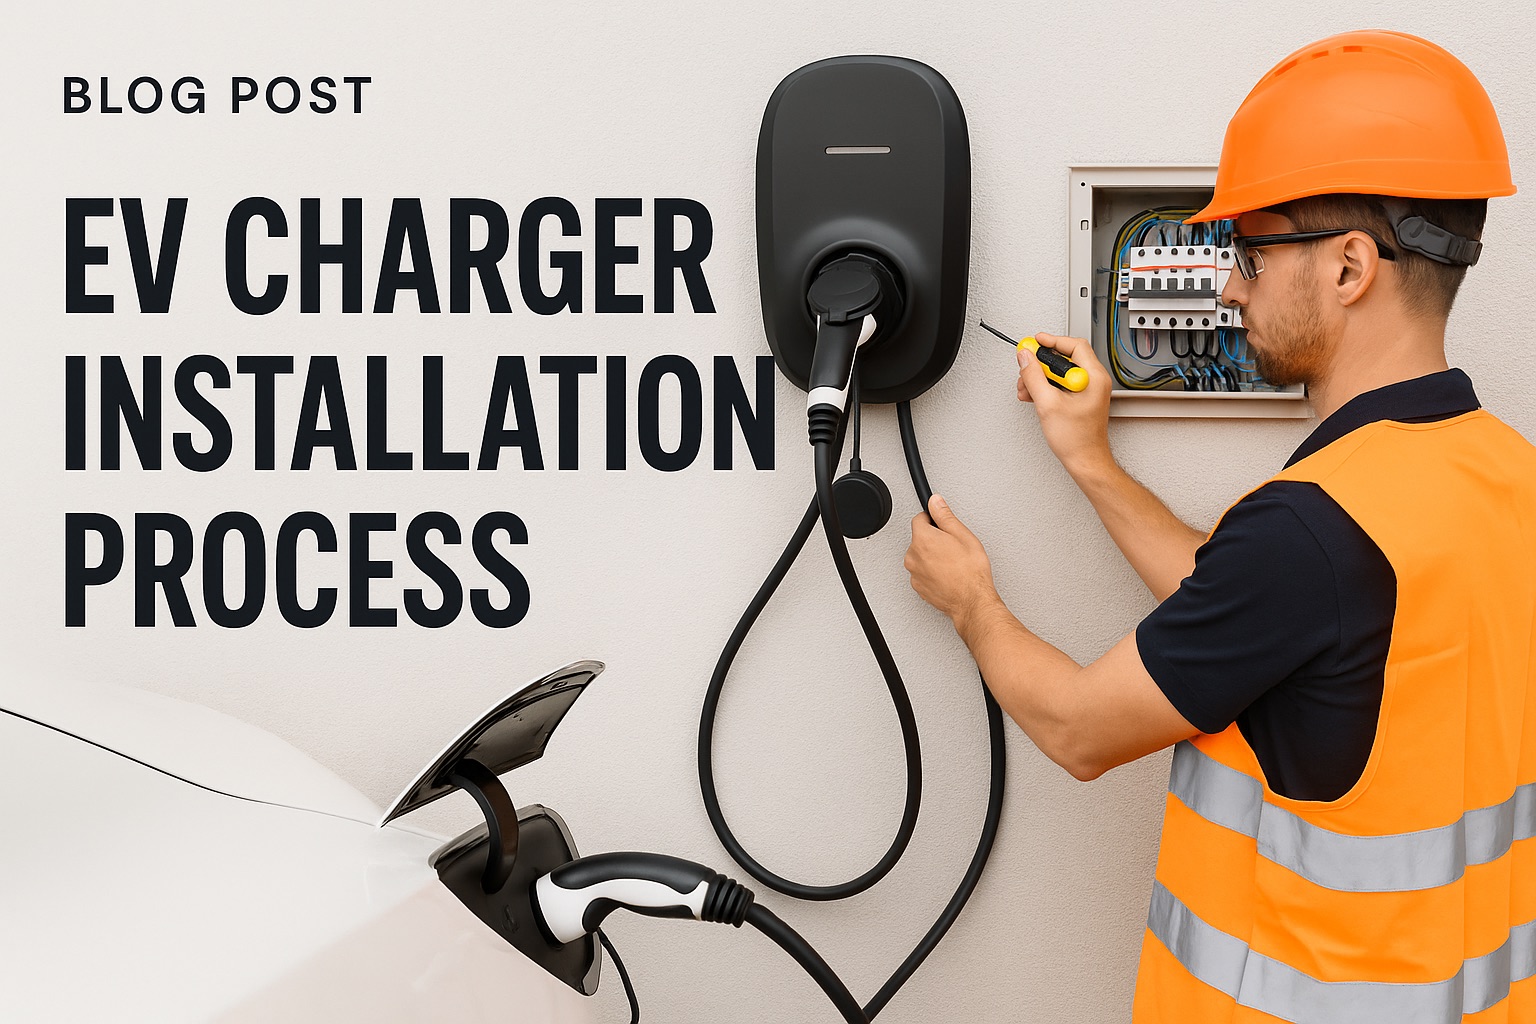
Making the switch to electric has never been more popular, but many UK homeowners feel uncertain about what the EV charger installation process actually involves. Whether you’re a new EV owner or planning ahead for your first electric vehicle, understanding each step of the installation journey will help you prepare properly and set realistic expectations.
The good news? A professional EV charger installation is far more straightforward than most people imagine. With the right installer and proper preparation, most home installations are completed within 2-3 hours, transforming your property into a convenient charging hub that could save you thousands of pounds annually on fuel costs.
What Makes the EV Charger Installation Process Essential?
Installing a dedicated home charging point is one of the smartest investments any EV owner can make. Home charging is substantially cheaper (roughly one-third the cost) of DC fast-charging, and having your own charging point means you’ll wake up to a fully charged vehicle every morning.
Beyond the obvious convenience, a properly installed home charger increases your property value and positions you ahead of the curve as electric vehicle adoption accelerates across the UK. But to get these benefits, you need to understand what the installation process entails.
Pre-Installation Phase: Setting the Foundation (1-2 Weeks)
Initial Assessment and Planning
Before any physical work begins, your chosen installer will need to assess your property’s suitability. This crucial first step typically happens through either an online survey or an in-person visit.
What to expect during your assessment:
- Electrical system evaluation – Your installer will check if your consumer unit (fuse box) can handle the additional load
- Power supply analysis – Most UK homes have a 60-amp main fuse, but some installations may require upgrades to accommodate a 7kW charger
- Cable routing survey – Planning the most efficient path from your electrical panel to the installation location
- Parking area inspection – Ensuring the chosen location meets safety requirements and building regulations
As part of the installation process, your local Distribution Network Operator (DNO) must grant you approval to install a charger. Your OZEV-approved installer will typically handle this notification process for you.
Choosing Your Installation Location
The location of your charger impacts both safety and convenience. UK regulations specify that chargers must be:
- Mounted between 0.75m and 1.2m from ground level
- Positioned with good WiFi or mobile connectivity (required for smart charger functionality)
- Located within easy reach of where you typically park
- A minimum of 2 metres from any public road
You shouldn’t mount your charger on a fence or temporary structure, as this can be dangerous. Wall mounting is typically preferred, though pedestal installation may be necessary if no suitable wall is available near your parking area.
Documentation and Permits
Most home EV charger installations fall under “permitted development“ and don’t require planning permission. However, there are important exceptions:
- Listed buildings or conservation areas may need special permissions
- Leasehold properties require landlord consent
- Flats and apartments often need additional approvals
Your installer should handle any necessary permit applications and ensure compliance with all relevant building regulations.
The Installation Day: What Actually Happens (2-4 Hours)
Once planning is complete and materials arrive, the actual installation process is surprisingly quick for standard setups.
Step 1: Site Preparation and Safety (30 minutes)
Your installer begins by:
- Switching off power at the consumer unit
- Setting up safety barriers and protective equipment
- Conducting final measurements and confirming cable routes
- Preparing tools and testing equipment
Step 2: Electrical Work and Circuit Installation (1-2 hours)
The most technical part of the process involves:
Circuit Installation:
- Installing a dedicated circuit breaker in your consumer unit
- Running appropriate cabling from the fuse box to the charger location
- Ensuring proper earthing and RCD (Residual Current Device) protection
Cable Management: The longer the cable run, the more complex (and expensive) the installation becomes. For outdoor runs or routes through walls, this phase may take longer as installers ensure weatherproofing and structural integrity.
Step 3: Charger Mounting and Connection (30-45 minutes)
With the electrical infrastructure in place:
- The charging unit is securely mounted to the wall or pedestal
- All electrical connections are made and tested
- Cable management and tidy-up work is completed
- Initial power-up and functionality testing begins
Step 4: Testing and Commissioning (30 minutes)
Before handover, comprehensive testing ensures everything works safely:
- Electrical testing – Verifying proper earth continuity and insulation resistance
- Functionality checks – Testing charge initiation and stopping procedures
- Smart features setup – Connecting to WiFi and configuring app controls
- Safety verification – Ensuring all protection systems operate correctly
Post-Installation: Getting Connected and Certified
Demonstration and Handover
Conduct your first charging session by plugging in your EV and monitoring the process. Check for proper charging speed and listen for any unusual noises. Your installer should walk you through:
- How to start and stop charging sessions
- Using any smart features or smartphone apps
- Understanding status lights and error indicators
- Basic maintenance and troubleshooting tips
Certification and Documentation
Professional installations include essential paperwork:
- Installation certificate confirming compliance with all regulations
- Warranty documentation (typically 3 years for both equipment and installation)
- User manuals and operation guides
- Grant claim documentation if applicable
Smart Charger Setup
Since June 30, 2022, all new home and workplace EV chargers must be “smart chargers.” Your installer will help configure:
- WiFi connectivity for remote monitoring
- Smartphone app setup and account creation
- Scheduling features for off-peak charging
- Energy monitoring and usage tracking
Timeline Expectations: From Enquiry to Charging
Understanding realistic timeframes helps you plan effectively:
Total Project Timeline: 2-4 Weeks
- Initial enquiry to survey: 3-5 days
- Survey to quote approval: 2-3 days
- Ordering equipment: 5-7 days
- Installation scheduling: 1-2 weeks
- Actual installation: 2-4 hours
For a standard home EV charger installation, it takes around 2-3 hours to install. However, complex installations requiring electrical upgrades may extend to a full day.
Busy periods (particularly after government grant announcements) can extend scheduling times, so booking early is recommended.
Cost Considerations and Government Support
Installation Cost Factors
Several factors influence your total installation cost:
Standard Installation (£500-£800):
- Wall-mounted location within 10m of consumer unit
- No electrical panel upgrades required
- Direct cable route with minimal obstacles
Complex Installation (£800-£1,500+):
- Long cable runs or difficult routing
- Consumer unit upgrades or additional circuits
- Groundworks for underground cabling
Available Government Grants
The UK government offers substantial support for EV charging installations:
For Homeowners (Renters and Flat Owners):
- Up to £350 off installation costs
- Covers 75% of total costs up to the grant limit
- Available for eligible vehicles and OZEV-approved chargers
For Landlords:
- Up to 200 grants per year for residential properties
- Additional infrastructure grants available for multi-unit developments
For Businesses: 40 sockets across all sites per applicant through the Workplace Charging Scheme, with grants up to £350 per socket.
Your OZEV-approved installer will handle grant applications on your behalf and deduct the grant amount from your final invoice.
Choosing the Right Installer: Why Certification Matters
OZEV Approval Requirements
For qualified electricians, becoming an OZEV approved installer is a relatively simple process, but this certification ensures your installer meets strict standards for:
- Technical competency in EV charging systems
- Understanding of grant application processes
- Compliance with safety regulations and building codes
- Access to approved equipment and ongoing training
What to Look for in Your Installer
Essential Qualifications:
- OZEV approval for grant eligibility
- NICEIC or equivalent electrical registration
- EV-specific training certification (City & Guilds or EAL)
- Professional indemnity insurance
Service Quality Indicators:
- Clear communication throughout the process
- Detailed quotes with no hidden costs
- Positive customer reviews and testimonials
- Comprehensive warranty coverage
Common Installation Challenges with the EV charger installation process
Electrical Capacity Issues
Some older properties may require a stronger connection to the grid, and if you’re looking at a faster charger (like a 7kW or 22kW unit), additional work may be needed.
Solutions include:
- Consumer unit upgrades to accommodate additional circuits
- DNO applications for increased supply capacity
- Load management systems to optimise power distribution
Physical Installation Obstacles
Challenge: Limited wall space or unsuitable mounting locations Solution: Pedestal installations or alternative mounting positions
Challenge: Long cable runs through complex building structures
Solution: Professional route planning and appropriate cable protection
Challenge: Underground cable requirements for detached garages Solution: Proper excavation, ducting, and weatherproofing techniques
Maximising Your Installation Investment
Future-Proofing Considerations
When planning your installation, consider:
Capacity Planning:
- Will you need to charge multiple vehicles in future?
- Are you planning any electrical upgrades (heat pumps, solar panels)?
- Could you benefit from three-phase power supply?
Smart Integration:
- Compatibility with home energy management systems
- Solar panel integration capabilities
- Vehicle-to-grid (V2G) readiness for future technologies
Maintenance and Ongoing Care
Professional installations include guidance on:
- Regular cleaning to remove dirt and debris
- Cable inspection for signs of wear or damage
- Connection checking to ensure secure electrical contacts
- Software updates for smart charging features
Test the charger periodically to make sure it is charging at the expected rate and contact your installer if you notice any performance issues.
Making the Most of Your New Home Charger
Optimising Charging Schedules
Take advantage of smart charging features to:
- Charge during off-peak hours when electricity is cheapest
- Integrate with solar panels if you have renewable energy generation
- Set departure times to ensure your vehicle is ready when needed
- Monitor energy usage to track costs and environmental impact
Understanding Charging Speeds
Electric Vehicle chargers are categorised into different charging levels. Your new Level 2 charger will typically provide:
- 7kW charging: 25-30 miles of range per hour
- 11kW charging: 40-50 miles of range per hour
- 22kW charging: 60-80 miles of range per hour (requires three-phase supply)
Why Professional Installation Pays Off
While the EV charger installation process might seem daunting initially, working with qualified professionals ensures:
✅ Safety compliance with all UK electrical regulations
✅ Grant eligibility through OZEV-approved installation
✅ Insurance validity with certified electrical work
✅ Warranty protection for both equipment and installation
✅ Future support for maintenance and upgrades
The peace of mind that comes with professional installation far outweighs any perceived savings from DIY approaches, which could void warranties and create safety risks.
Ready to Start the EV Charging Installation Process?
Understanding the EV charger installation process empowers you to make informed decisions and set realistic expectations. With government grants reducing costs and professional installers streamlining the process, there’s never been a better time to invest in home charging infrastructure.
The transition to electric vehicles is accelerating, and having your own charging point isn’t just about convenience—it’s about future-proofing your property and reducing your carbon footprint while saving money on fuel costs.
Take the next step: Contact OZEV-approved installers in your area to begin with a free assessment and quote. Your journey to convenient, cost-effective home charging starts with understanding the process—and now you’re equipped with everything you need to know.